• Home
  • Contact
  • Blog
  • Categories
    • Baking
    • Celebration
    • Design
    • DIY
    • Travel
  • Disclaimer
    • Instagram

Welcome

How The Renovation Began

August 30, 2021

This is long over due but here’s the story of how our kitchen and laundry and well the whole downstairs renovation came about.

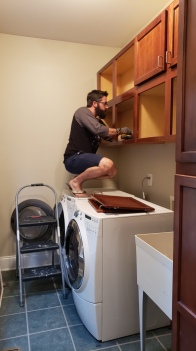
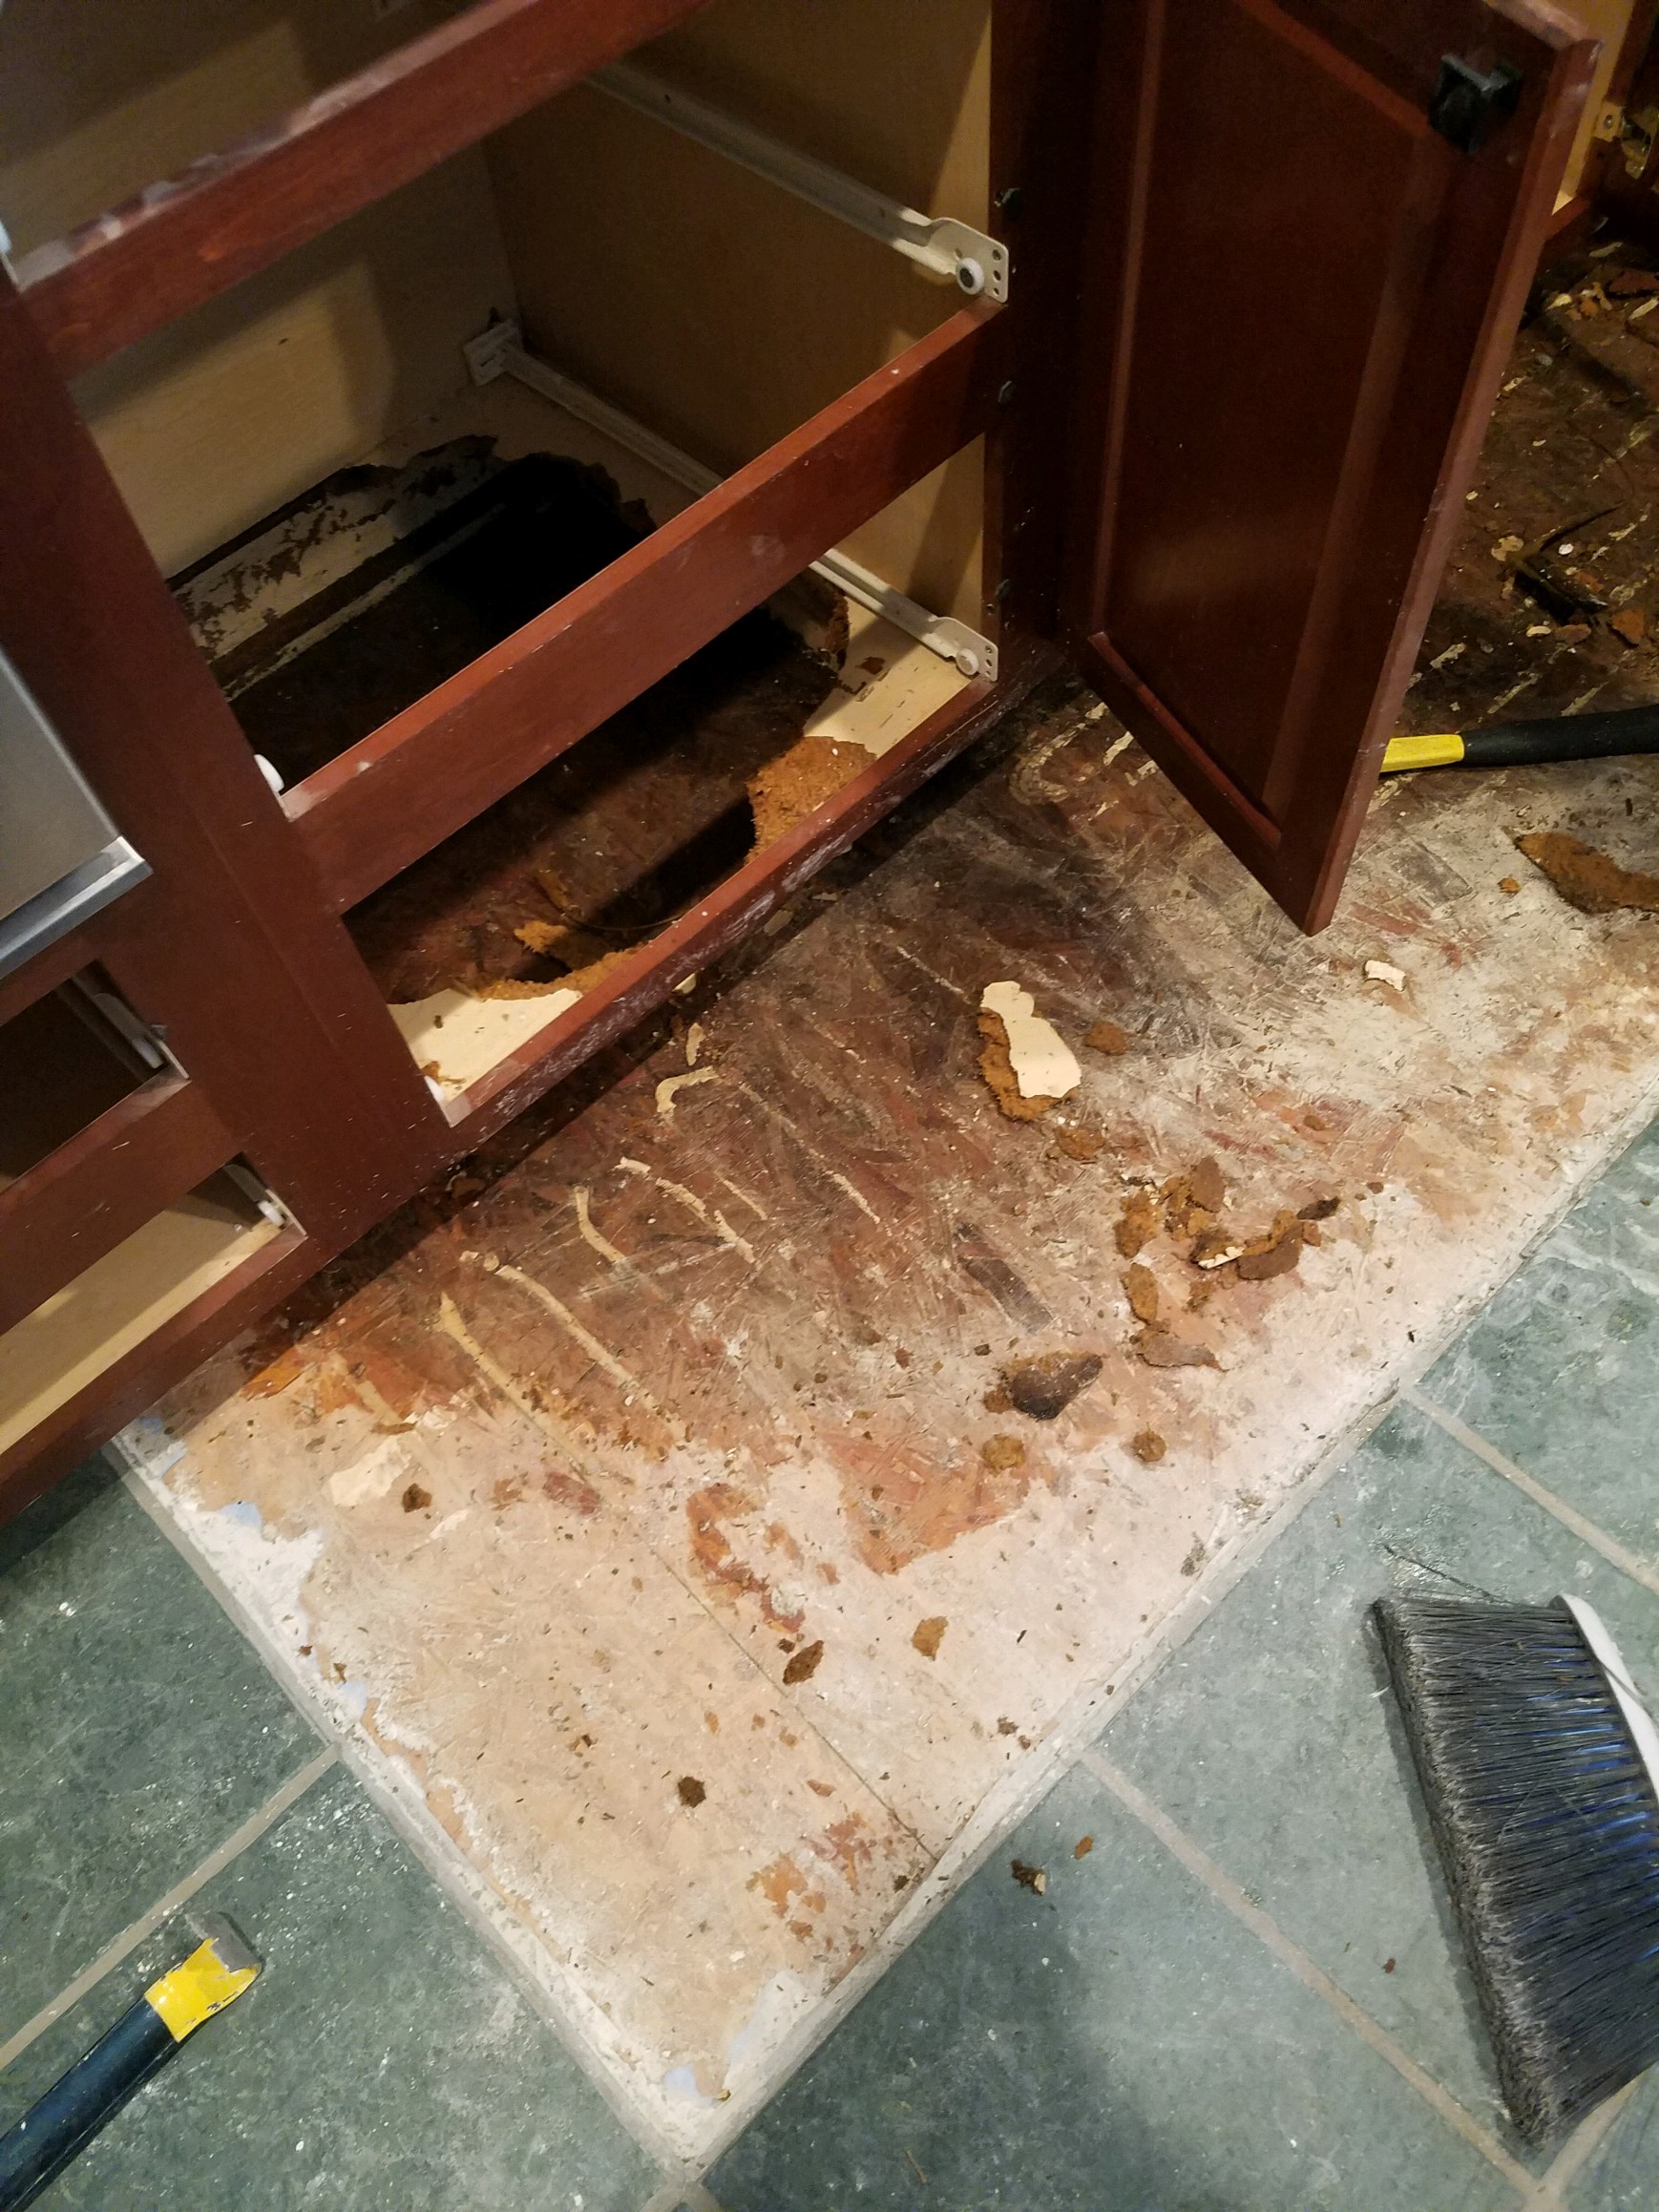
My parents were coming down for a long weekend and so my dad and I were going to renovate the laundry room by painting the existing tile floors, adding a dog shower and a countertop with a shelf above it. Prior to them coming my husband was doing the demo of the laundry room to give us a head start and while removing the tall pantry cabinet he found almost 2 inches of standing water. Now back up a little bit- I had stopped using a lower cabinet on the kitchen side because it had such a musty smell and the bottom shelf was sinking (should’ve been a sign) and brushed it off to it being because it was an older kitchen and maybe the previous owners had spilled something in there. No, it was because that water was also underneath all the cabinets along that wall and about 2 more feet into the kitchen under the tile. 

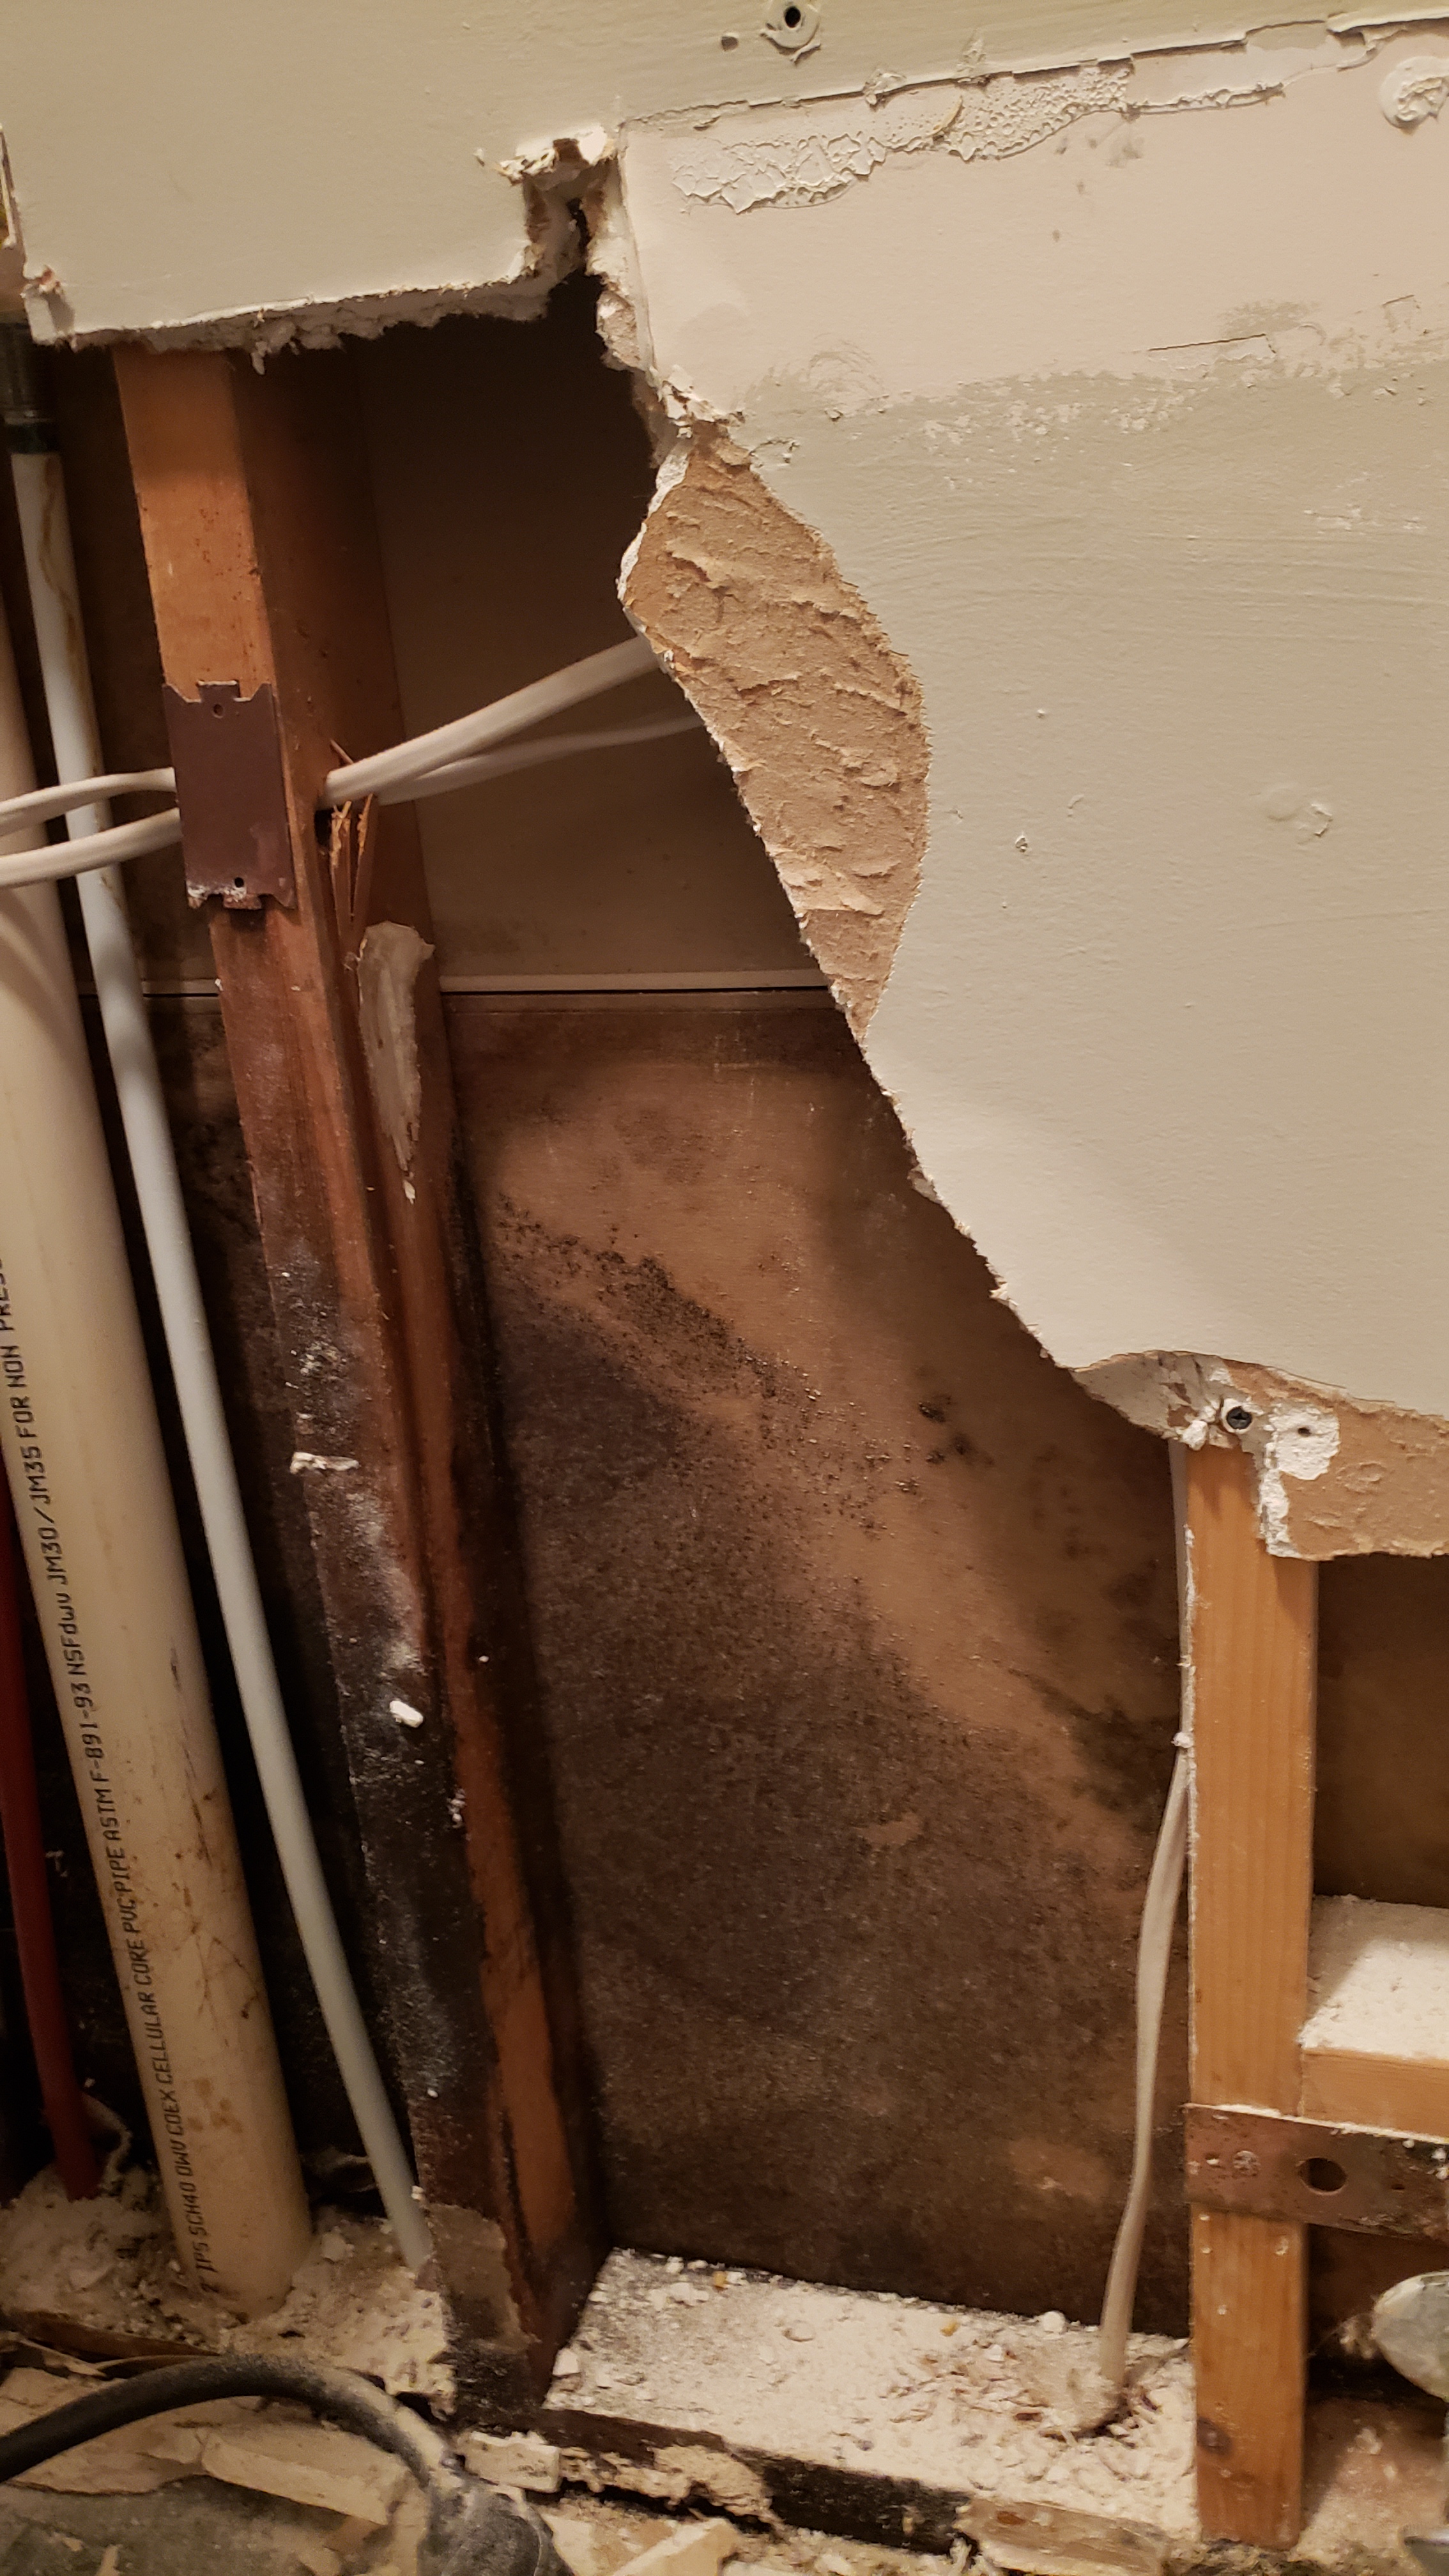
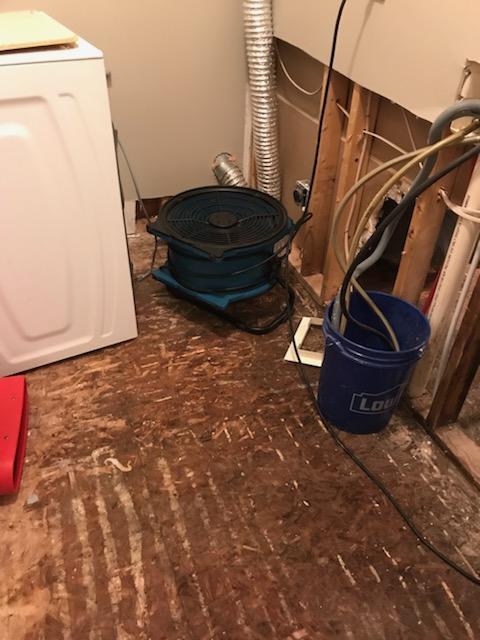
We quickly called our insurance agent who hired a mold and water remediation company to start drying everything out. Once the company showed up, we found the water extended almost the entirety of our laundry room plus about 2 feet up the wall and had extended into the kitchen by about 5 feet and the whole length of the wall that was shared with the laundry room. Now I am so thankful for how quickly the mold and water remediation people worked and within days our flooring and cabinets were all removed, as well as all the tile that had water underneath it. It took about a week of running fans nonstop to dry it out. I pray you never have to go through that because the blowing of industrial fans nonstop will drive you nuts! We also discovered that the water had been a slow drip from where you connect your washing machine. The fittings were just old and corroded and had allowed water to slowly fall down the wall over time.

Once the water damage areas had been demoed the insurance adjuster came out to assess the damage and said they would be paying to replace the floors based on what we had and also hired a custom cabinet maker to give the insurance agency a quote for the total of 6 cabinets that needed to be replaced. Once they gave us their estimate we decided to just use the money to renovate the entire kitchen. It seemed like more of a waste to use it to get 4 new cabinets in the kitchen with the rest of the kitchen being 20 years old. I’m also super happy we went the route of renovating because removing the porcelain tile floors was no easy feat and I don’t know how those would have been removed without damaging the existing cabinetry. And since the flooring was getting replaced we decided to just continue with our plan to make everything hardwood downstairs. You quickly see how one project can snowball into another into another and so on. 

This wasn’t our ideal situation for a renovation but what’s life without some unexpected twists and turns. 

Look for our kitchen design post next!

Filed in: Design • by ford.amanda.m •

Bathroom Redo

September 22, 2020

When we bought our house a little over a year ago I couldn’t wait to come in and make it my own and bring it more up to date. Then reality set it and you realize remodels are super expensive and well I value my vacations more than a house renovation, so I wanted to design each of the spaces in the houses with some diy and simple updates that make a big impact. If you have a good base such as no broken tiles on the floor or plumbing leaks or something that would actually require demo and not just a face lift then all of these ideas can work for you.

My first job was to tackle all the bathrooms in the house. Small space but big impact. I started with our master bathroom because I couldn’t take the greyish brown paint and the oddly stained tile floors. I knew I wanted a spa like bathroom with blue/grey paint and so I started on pinterest for inspiration. I found this gorgeous bathroom and knew that was what I wanted. Now I’d love to have high end fixtures but I wanted something for under $1000 for my entire master bathroom and I made it work !Now this isn’t to say I don’t splurge on design at times but you have to pick and choose what is worth the money and what is worth a copycat of that item.

Here is the breakdown:

  • Took down the very large builder grade mirror and the light fixtures and painted the bathroom Solitude by Benjamin Moore and had it color matched at Lowes. Absolutely LOVE LOVE LOVE the color and need to find more spaces in my house to put it. $45
  • Two round mirrors above sink
  • Replaced the light fixtures
  • Replace faucets with polished nickel ones
  • New towel fixtures in a polished nickel finish
  • Add peel and stick tile above countertops

Untitled design (1)

Light Fixture    Peel and Stick Tile   Black Round Mirror  Faucet  Towel Bar  Toilet Paper  Towel Ring

Once this was done I knew I couldn’t stand to see the floors the way they were and that’s when I started researching tile stickers and came across this tutorial by Mysha at Remington Avenue and knew I had to try it on my bathroom floors. The stencil I picked was from cutting edge stencil and I just went with a basic black and white paint color. Honestly, I don’t think they could have turned out any better. I loved it so much I ended up painting our other two bathrooms, as well. Now I will say this is about a week or 2 project to paint your floors. I usually would start working on them about 9pm after the kids went to bed and stopped around midnight or later. So, it can be done quicker but i was okay with 2 weeks without my bathroom.

After repainting the floors is when i decided to add in the peel and stick tile. I had seen it at Home Depot and was worried it’d look cheap but I was completely wrong.

For this being my first room transformation I think I’m off to a good start.

If you love before and after pictures as much as I do then here you go:

master bath beofremaster 2 bafeofre2019-10-23 15.43.582019-10-23 15.43.462019-10-23 15.42.5220200229_1009222020-02-29 10.08.54

Next post: Spray painting the shower frame !

Filed in: Design • by ford.amanda.m •

  • « Previous Page
  • 1
  • 2

DIY on a budget! Learning and teaching DIY and giving you the confidence to tackle any project.
~Follow along @moscatoandflowers~

Search The Blog

Categories

  • Baking
  • Celebration
  • Design
  • DIY
  • Travel
  • Uncategorized

Popular Posts

Mood Board: Cozy Living Room

Disclaimer- this post contains affiliate links, which means I receive a small commission for certain items purchased through links. Having a mood board help put all your ideas swirling around in your head to a true vision. It also helps to see what a can become or how every piece will come together. I truly […]

One Day Makeover

Disclaimer- this post contains affiliate links, which means I receive a small commission for certain items purchased through links. When I was asked to do a makeover for a friends primary bedroom I started researching immediately all the things i could do in the room to maximize the space. People think because they have a […]

Pinterest

Follow

@moscatoandflowers

Recent Posts

  • Mood Board: Cozy Living Room
  • One Day Makeover
  • One Room Challenge-Week 1
  • It’s The Most Wonderful Time Of The Year
  • New England Travel

Recent Comments

No comments to show.

Archives

  • August 2022
  • April 2022
  • October 2021
  • September 2021
  • August 2021
  • December 2020
  • September 2020
  • October 2019
  • September 2019
  • August 2019
  • April 2019
  • March 2019
  • February 2019
  • January 2019
  • September 2018
  • August 2018
  • July 2018

Categories

  • Baking
  • Celebration
  • Design
  • DIY
  • Travel
  • Uncategorized

Copyright © 2025 · Moscato and Flowers LLC | Theme by Blog Pixie

Copyright © 2025 · Coffee & Sundays Theme on Genesis Framework · WordPress · Log in