• Home
  • Contact
  • Blog
  • Categories
    • Baking
    • Celebration
    • Design
    • DIY
    • Travel
  • Disclaimer
    • Instagram

Welcome

Stair Update and Tutorial

October 3, 2021

Disclosure: “I love sharing all my projects around the house and new decor finds along the way but I also know how overwhelming it can feel to start a project and not know the tools you need or how to style something around the house. Below I have included affiliate links to tools and products I use and love, which means I get a commission if you decide to make a purchase through them.”


This is what I like to call the snowball effect when it comes to updating your house. You think ‘I’m going to update my flooring upstairs and it’ll look fantastic’ but what you are really saying is ‘I’m updating my flooring upstairs, which then means I’m going to also have to update my stairs’-our stairs look disgusting. Yes, maybe that’s a little dramatic but it wasn’t the prettiest thing to look at next to our new floors.  When we refinished our hardwood floors downstairs I had talked to the hardwood refinisher and asked to give me a estimate on what it would cost to add hardwoods upstairs and redo both sets of stairs and it was going to cost between 30-40k with each stairwell costing around 8-10k! Well after a kitchen renovation that was nowhere in the budget nor did either of us feel that it would be a worthy investment. Oh, and on top of that that price was before wood started to cost double or triple what we had paid.

 Another consideration was also getting a custom runner made or adding carpet back to the stairs but neither of those options thrilled me and good quality carpet isn’t cheap.  So, I spent a lot of time just thinking about what I would actually like on my stairs and also not cost thousands of dollars. I knew I wanted black railing and steps and when I found the rug line by Chris Loves Julia with Loloi I instantly fell in love with the Denim and Spice color and decided I would use that as a runner. I also considered a washable rug for the project but quickly realized I would never care enough to take the runner off and wash it on a regular basis so low pile runner for the win!

Here is what our stairs looked like before. I think they even look worst in these pictures but that’s what beige carpet looks like after 21 years and a lot of kids!


The first step was removing all the carpet, nails and tack strips and ,of course, filling nail holes galore. Prep is always the worst part of any project but it gives you the best finish so never skip it. After removing all the nails I filled in all the nail holes that wouldn’t be hidden by the runner rug. Yes, cutting some corners are ok!

Next I used a deglosser on all the handrails and the spindles and I’m glad I did. In doing so I found that it just loosened up all the gunk of 20 years of hands and cleaner being used on the handrail and made for a much smoother finish. One more step I added in was caulking all the seams along the tread. It’s something small but gives the steps a more finished look.

Next I taped off along the entire tread since using a foam brush is a bit harder to get a smooth line. Once everything is prepared it’s time for stain. I used a 2 inch foam brush and just did a coat on all the spindles and handrail and also did the tread but only enough that it would come in another inch or two inside where the rug would be laying on the tread. When using this stain make sure that it’s not a thick coat to avoid runoff drips. The nice part of this stain is that you don’t have to remove it after it sets for X minutes. It goes on more like a paint. It took 2 coats that I did over two days to allow enough drying time in between each coat. While I waited for the stain to dry I decided it was a good time to touch up all the white trim and paint the riser for each stair, again only painting the riser so it would be one or two inches inside where the rug would hit. 

 Now time for the fun part- the rug! By this time it felt like I could finally see the light at the end of the tunnel! First, I measured the width of my tread and then the width of my rug and subtracted rug from the tread and came up with a number and then divided that by two and that is how much space you need on each side of your runner . (width of tread-width of rug= X then divide by two ie, 33-27.5=5.5/2=2.75) Then I measured in 2.75 inches and marked the outside of that using my laser level and painters tape so I could follow along when I stapled my rug down. Now, for most of my project I used carpet tape I found on amazon and had amazing reviews and overall it holds up quite well but I found something better. When finishing up the backstairs I ran out of carpet tape and went to home depot and found this carpet tape and it has a much stronger hold than the brand I found on amazon. So, for each tread and riser I did two to three strips of carpet tape (depending on width of tape) and left the backing on and then as I went down each step and tread I would remove it. I also used this carpet tool to get the carpet to sit in tight where the tread and riser meet and smooth out the rug on the tape. As I was doing each tread I added staples every 2 inches under the bullnose, where the tread meets the riser and I added 1 on each side just above the bullnose on the tread. Now I will say working with a 12′ rug was a slight challenge but I just went slowly and made sure to stay along my tape line. When I was close to the end of the first rug I cut it so it would staple under the bullnose of one of the treads. This hides the seam and you can start your next runner right under it. Note- if you have a runner with a border you will need to cut off the border so it doesn’t look like you’re adding in a second rug. You want it to appear as if it is one rug,  

Once the stairs were done it felt like such an accomplishment because I had never done something like this before and for around $300 it looks beautiful. I’m not sure how many hours were spent on it but it wasn’t enough to ever justify spending 10k on our stairs and if years down the road I want to replace the rug or change my style it’ll be easy to remove the rug and staple a new one down.

The tools that I used:

  Air compressor Scissors Tape Carpet Tool Rug

Filed in: DIY • by ford.amanda.m •

Hello Fall

September 16, 2021

It’s that time of year again, also known as the best time of year, fall! Growing up in Ohio I have always loved fall…the smell of the leaves, cooler weather, the beautiful colors of the leaves or my favorite-when the leaves twirl on the road when a car drives by on a sunny day. Fall also brings all the fun of Halloween and Thanksgiving and time spent with family and friends.

When we lived in Texas it was 10 years of torture not being able to enjoy a fall season to the fullest. A few years into living there I found a state park about 3.5 hours from us that had maple trees that would change colors each year. So, almost every year we would make a weekend out of it and go hiking and enjoy the beautiful fall colors-worth it!

Now each year I have always decorated for fall and usually I don’t buy anything new for my house until this year when I’ve decided to start changing my style from a farmhouse style, which is what we had in Texas, to more of a modern traditional style. I always start at Target and their decor gets better and better each year. I also love going to all the craft stores , especially because most of the time their decor and florals are on sale and this makes them super affordable. Some other favorites are Home Goods, Kirkland’s and ,of course, Trader Joes for some of the best and affordable pumpkins. Hope you find something you can add to your fall decor !

Favorite Fall Faux Florals

One Two Three Four Five Six Seven Eight Nine

Favorite Fall Decor

Door Mat Canister Vase Pumpkin Candle Acorn Candle Mosaic Canister Twig Pumpkin Large Twig Pumpkin Small Candle Holder

Filed in: Design • by ford.amanda.m •

Kitchen Design

September 6, 2021


This is long overdue by only 13 months. No big deal. The kitchen renovation was always on the to do list but on the 5 year to do list. We had planned it out and designed it and found out what it would cost and then decided we would save up for the next 3-5 years to pay for it with cash. Well that obviously didn’t happen thanks to a water leak in the laundry room.

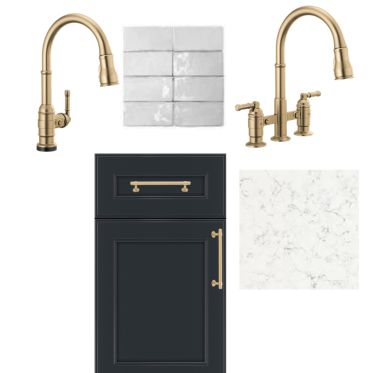
After doing my research via pinterest I was able to quickly draw out our kitchen plans and make a list of our musts. In my drawing also labeled where everything would be stored in our new kitchen based on how much we used it and accessibility. Living in our kitchen for a little over a year really helped to know how we used our kitchen and what would function best in the future. Also, because i had spent so much time researching and really pinning kitchens over the years I knew i wanted Navy cabinets, brass hardware and faucets and to have some industrial elements and all of that while embracing our traditional home. To counteract our dark floors and cabinetry I wanted to keep the counters and backsplash bright white and I had seen subway tiles many times but didn’t think the flat style was a fit for me and thankfully our designer found a more rough edge with a textured glazed face. And because I can never go simple I also opted for a herringbone design. The countertops were also easy considering we had owned a home previous to this one and it had granite, which stained so much and just never looked as good as when we were bought the house, so I chose quartz for more durability. By the time we met with our designer our meetings went a lot faster since I had narrowed down my style so much. The bonus to hiring a designer is she can help with things such as our island that once she measured had shown us we could actually extend it and slide it down to provide more space for our stove and oven work area. She also has access to backsplash tiles, countertops, hardware and so much right in her office. Once since she knew my design style she was able to quickly pull up a faucet and cabinet pulls that I instantly loved. I’m one of those people that will read every review for a product and look at every website to make sure I’m getting the best deal before purchasing and so her finding it for us took all that away from me-phew! 

Kitchen faucet Bar Faucet Tile

Here is a list of our other musts:

  • Mixer lift
  • Spice drawer
  • Dog storage drawer
  • Tall pantry for small appliances
  • Drawer for holding utensils next to stove
  • Pull out drawer for trash
  • bread drawer

Now I realize these are extra items we didn’t need but I absolutely love baking and cooking and wanted it to be a space I could utilize to its full potential and really enjoy being in there. I also hope to never have to renovate this kitchen for many many MANY years from now. 

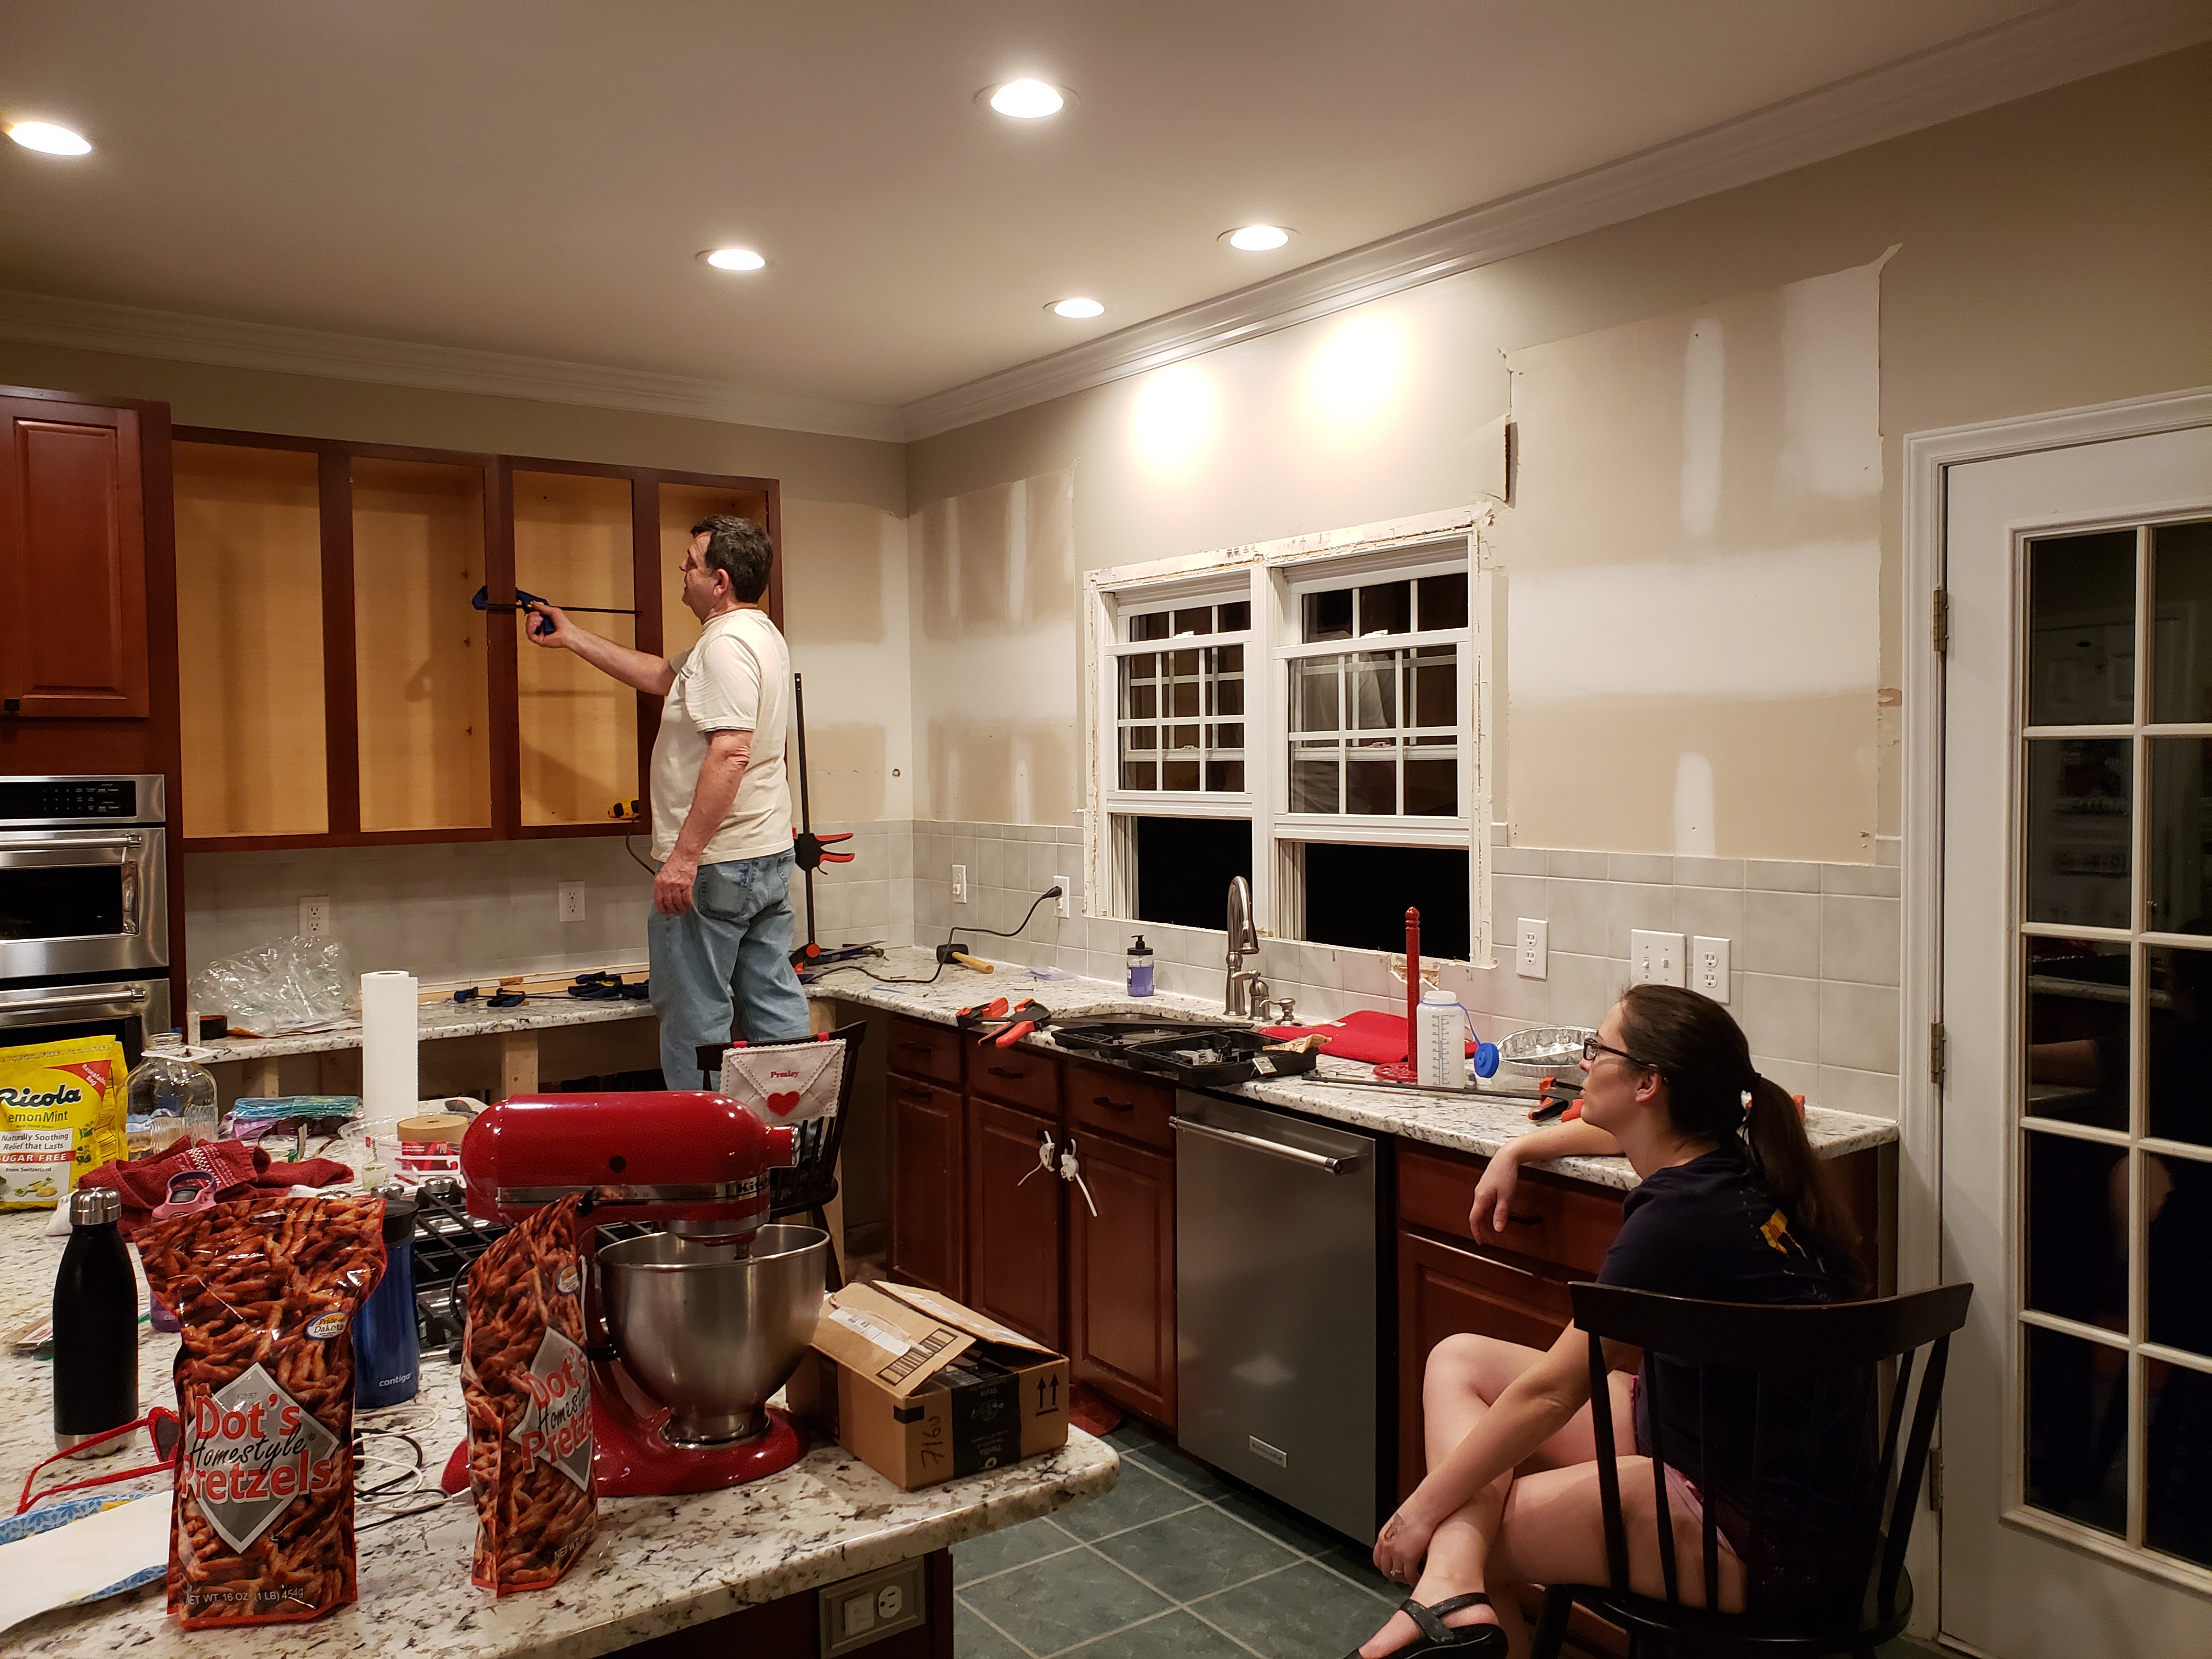
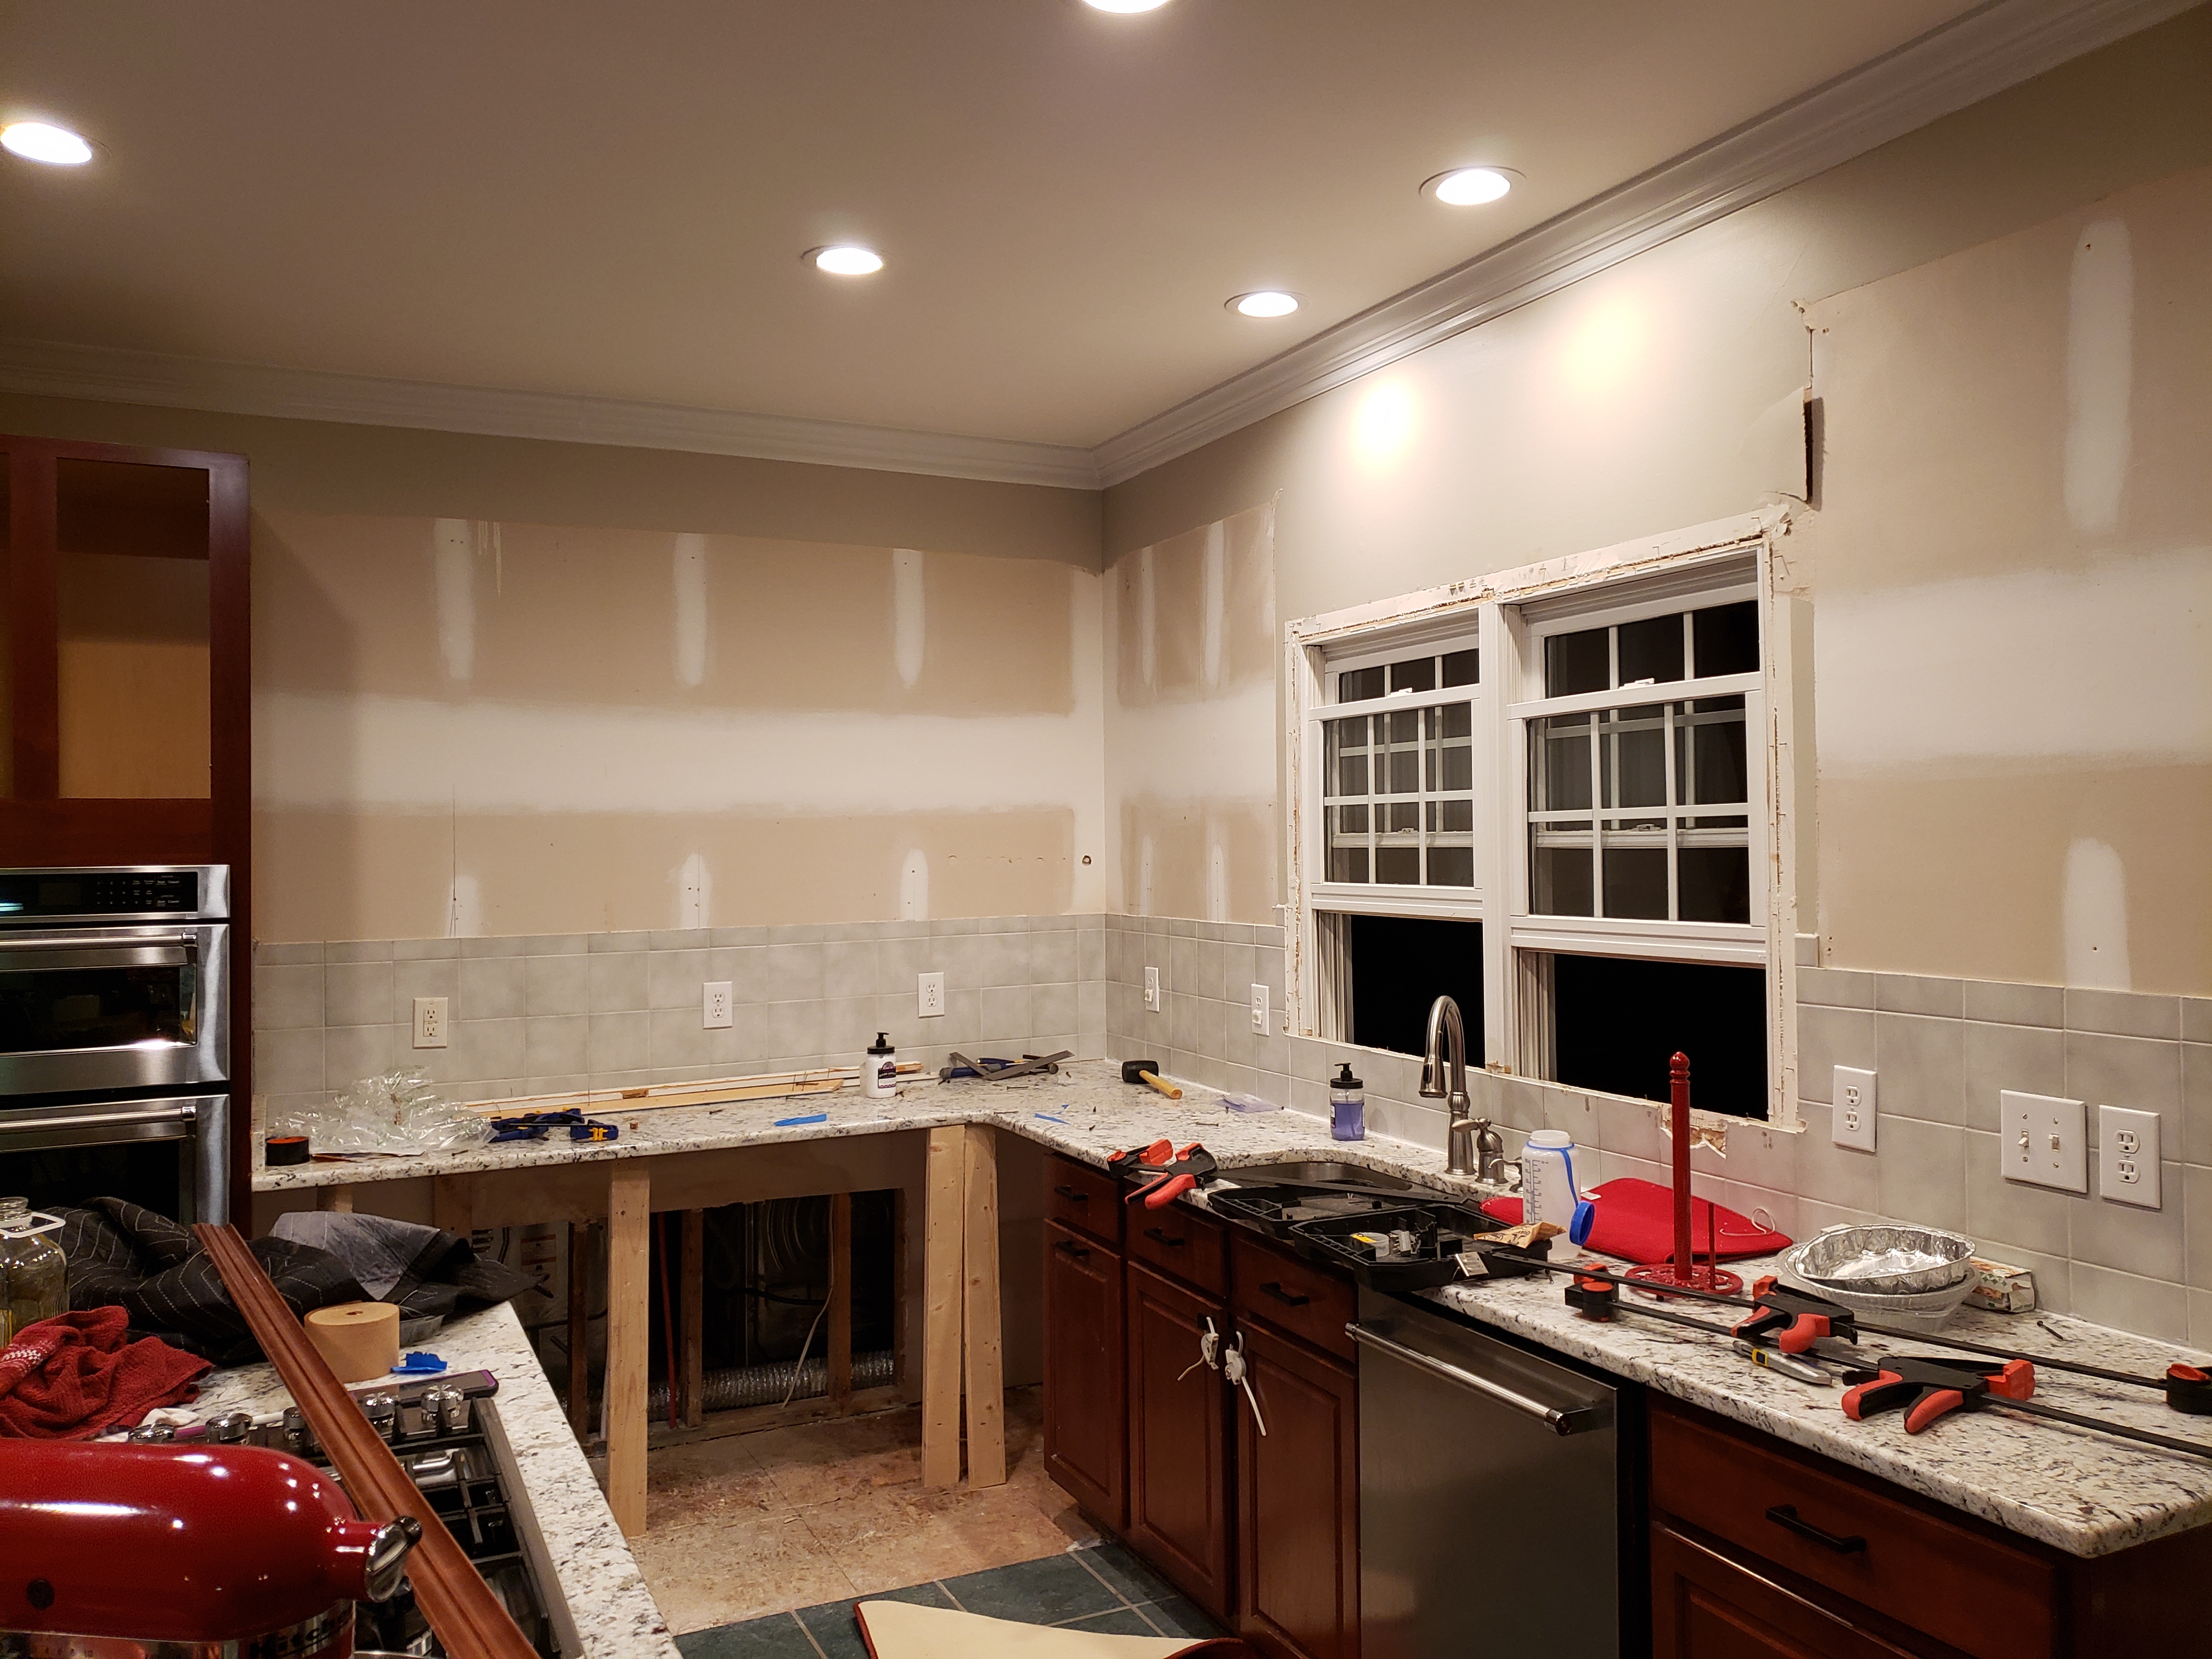
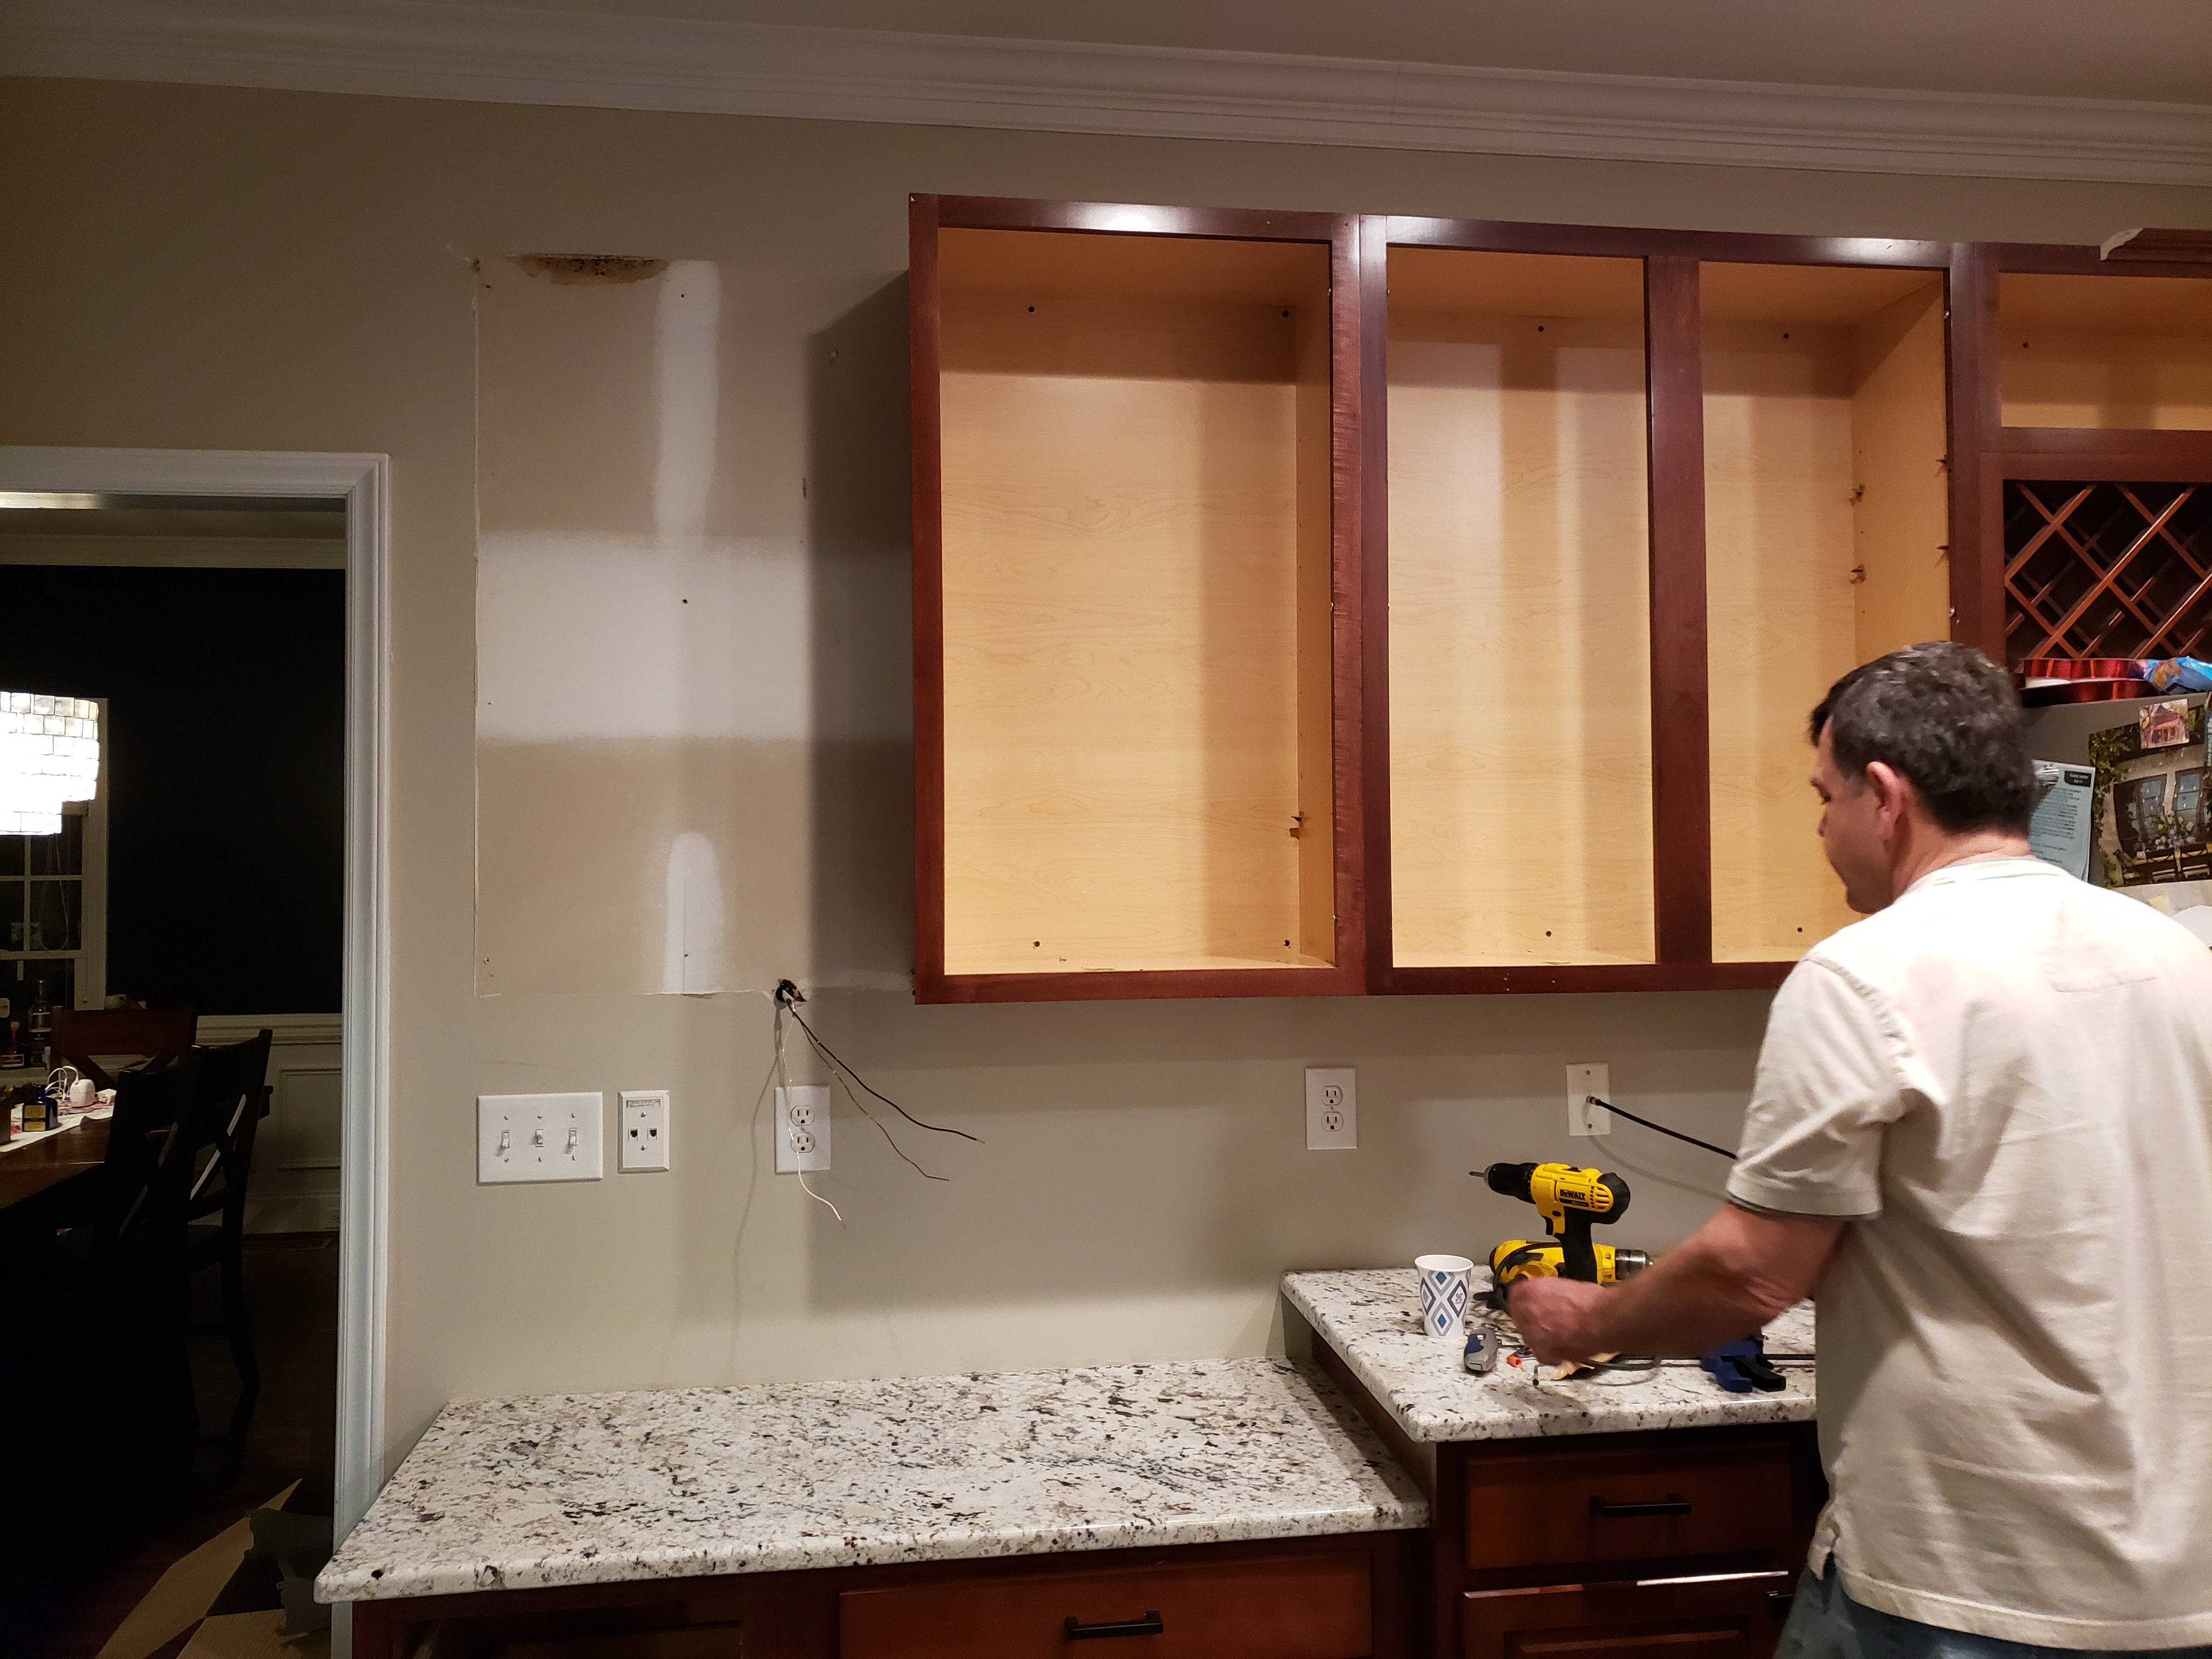
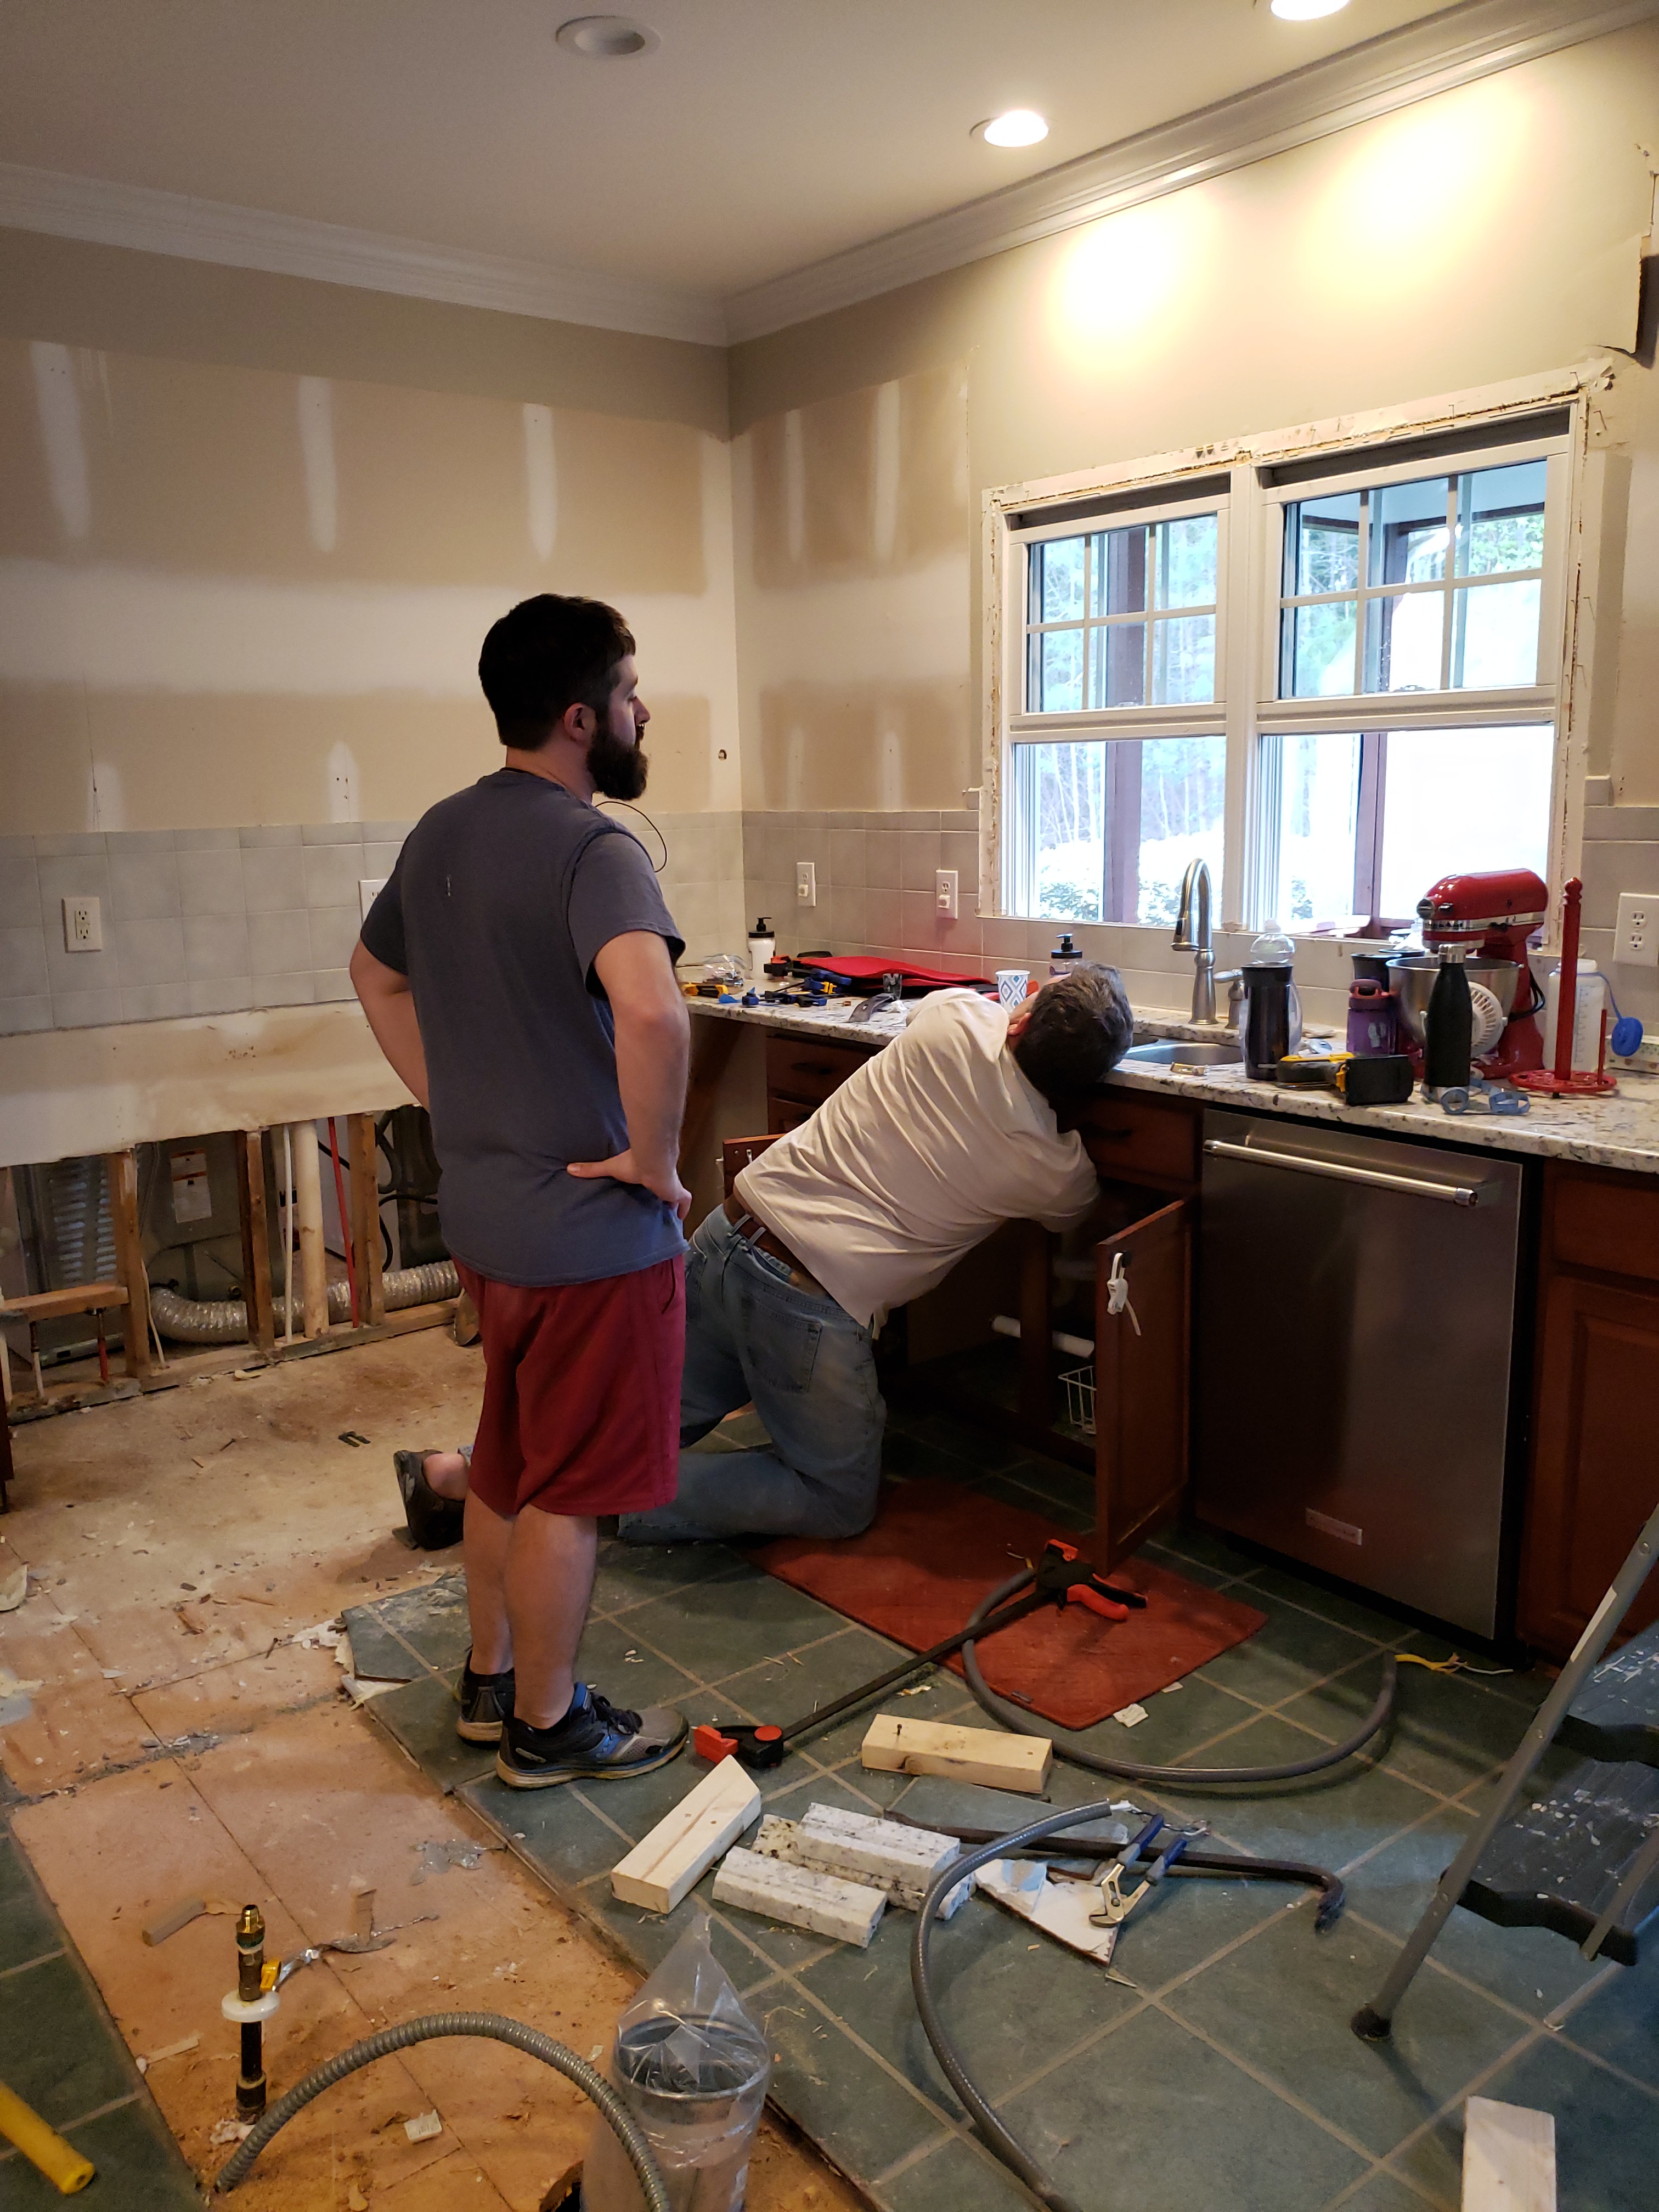
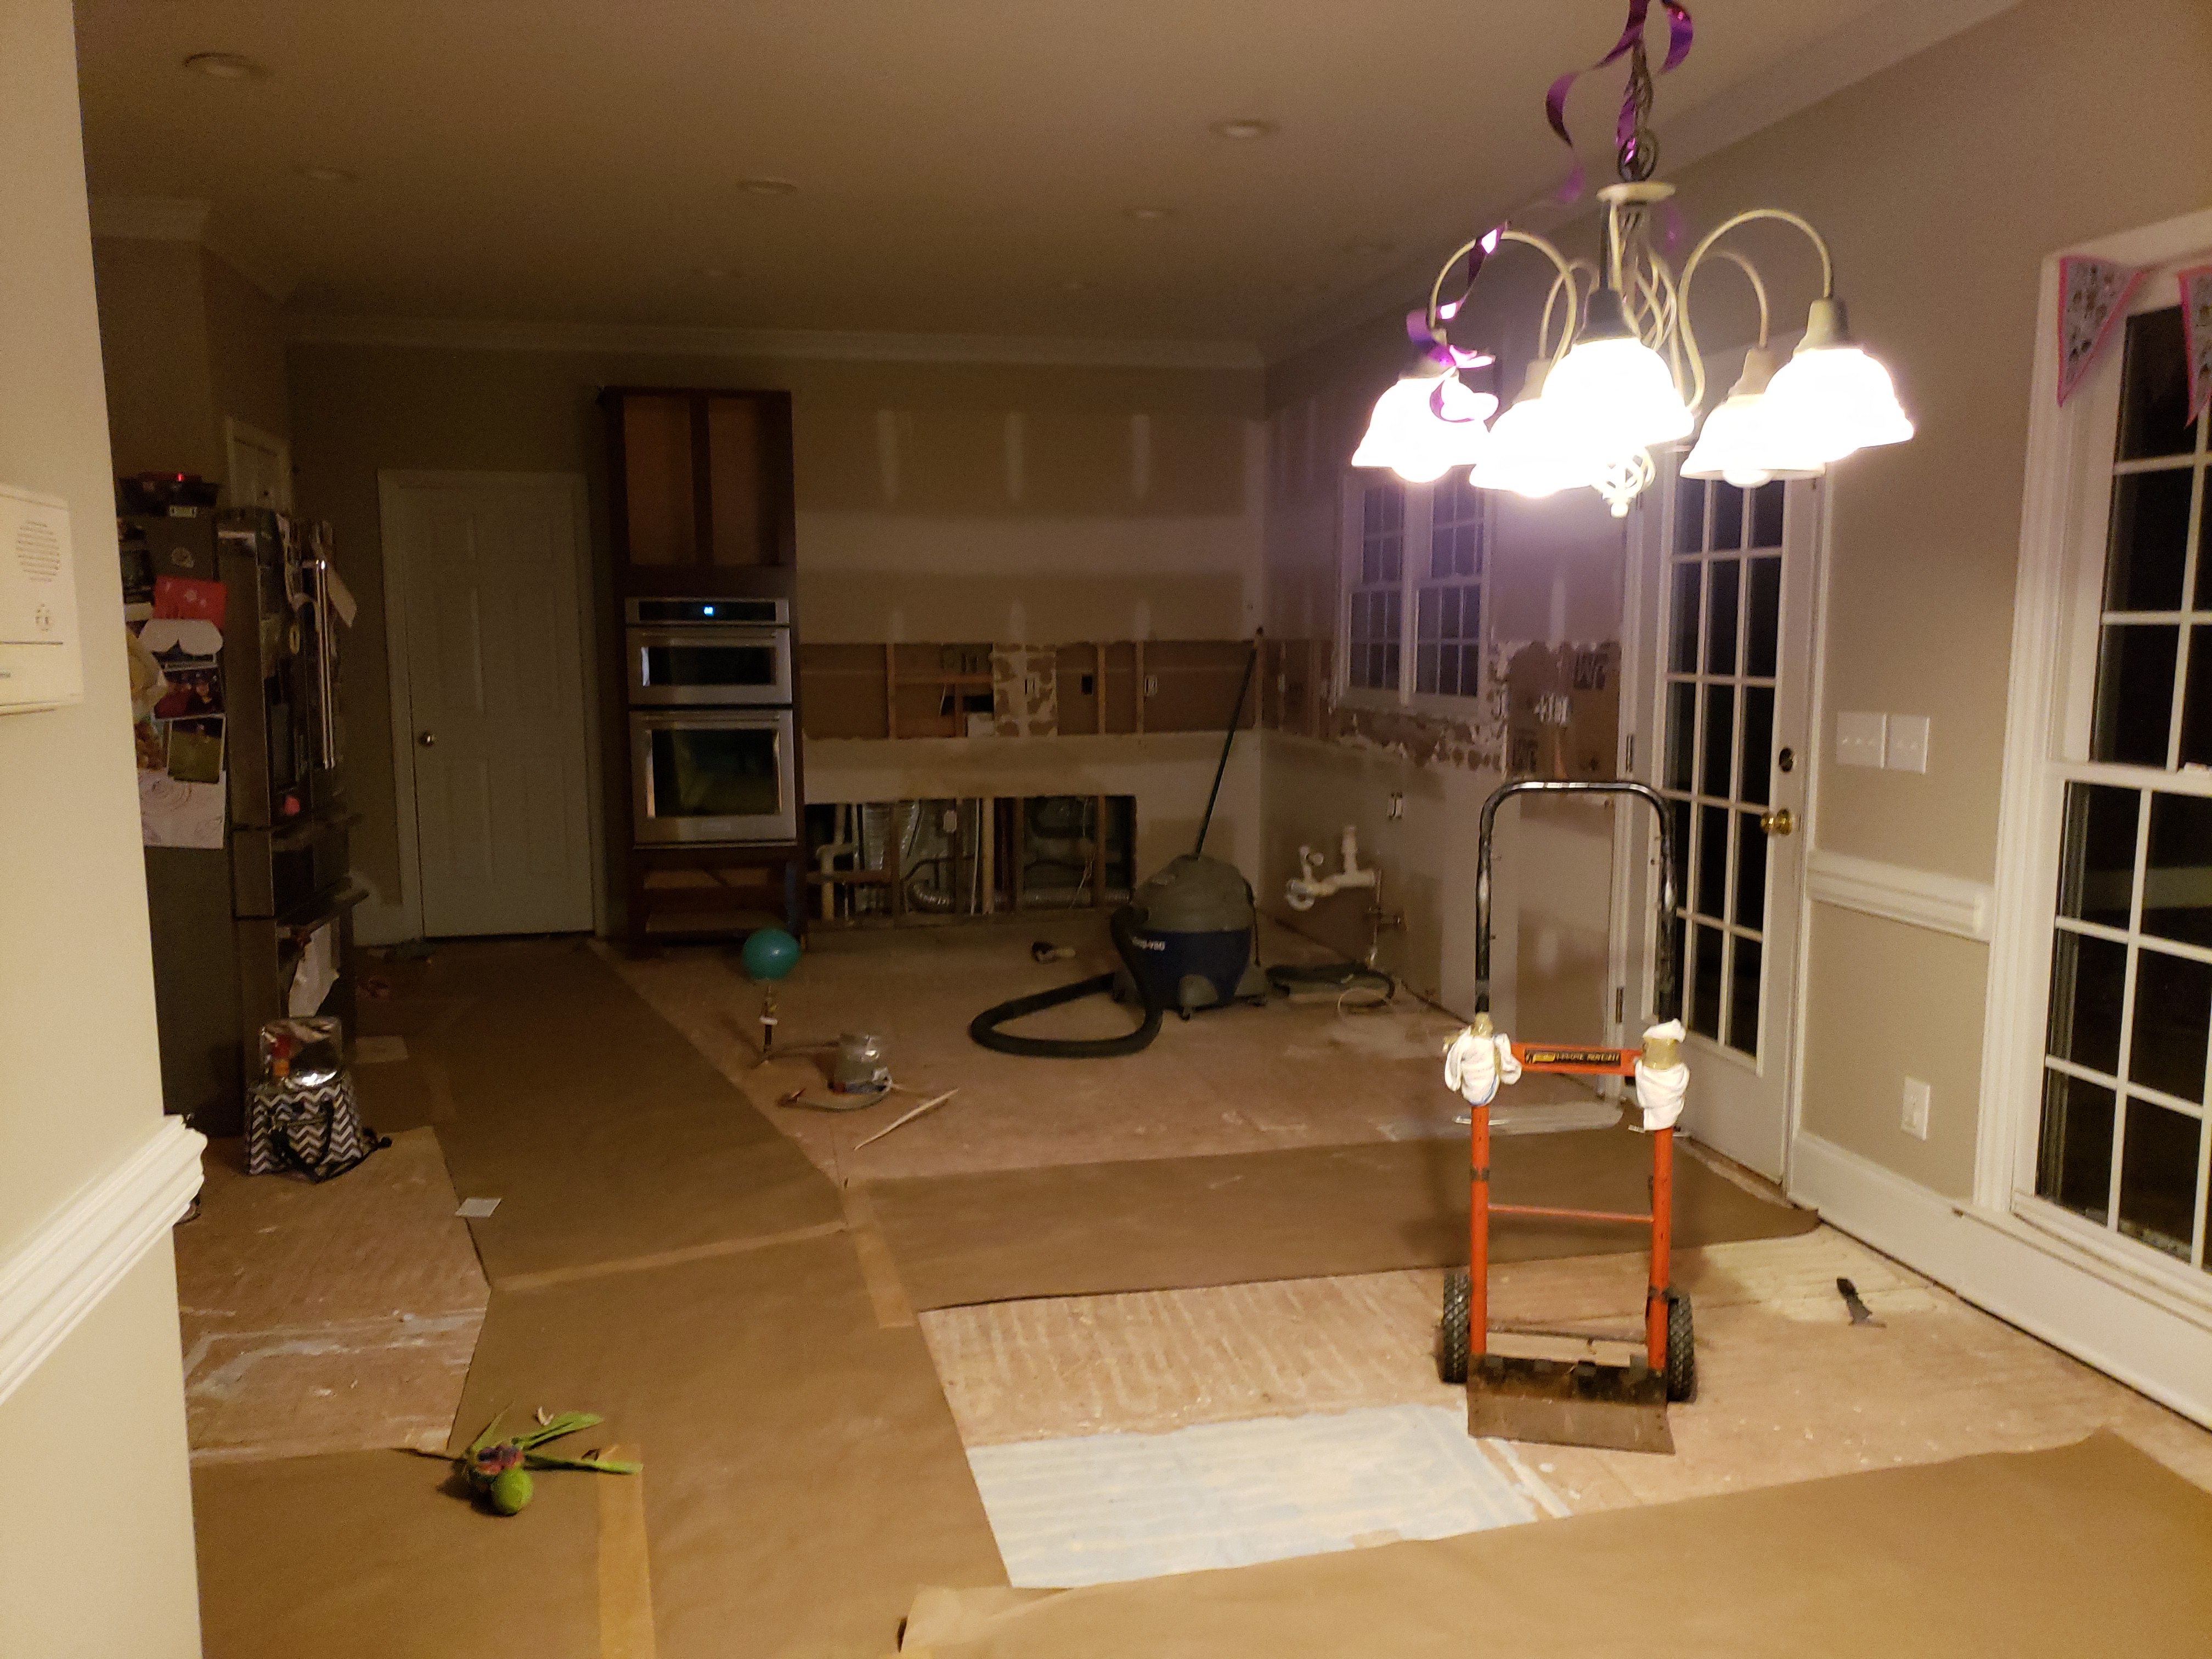
Once all our designs were finalized we got working on the demo. We knew we wanted to save as much money as we could with renovation so our first save was doing the demo ourselves. My dad came down in the middle of march to help us demo our entire kitchen including our porcelain tile floors (so thankful for him!). We would go to work and come home to half the kitchen already done without any help from us. Still have no idea how he carried out slabs of granite on his own without breaking them or himself! The last day of the demo we spent the entire day ripping up our floors. My dad would pry up the tiles and underlayment and I had the job of pulling up hundreds and I mean hundreds of staples. By doing the demo ourselves this saved us almost $4000! Now that’s a huge amount of money and could now be towards our renovation and my fancy faucets that my husband may or may not have been in agreeance of the price.

Once we had completed the demo was when things got serious with Covid and we were all about to go into lockdown and we got a bit worried we would not be able to move forward with our renovation and we would be living months without a kitchen. This wasn’t the most ideal time for a renovation but unfortunately nothing in life is planned out perfectly. Thankfully nothing was put on hold and we didn’t have any long lead times.

This is right around the time that I realized home design and building things and demo was what I loved doing. Seeing something that you helped create and such a huge reward and I love seeing it everyday.

I hope this makes you feel like you could design your own kitchen and even demo it !

Read more

Filed in: Design • by ford.amanda.m •

  • « Previous Page
  • 1
  • 2
  • 3
  • 4
  • 5
  • …
  • 8
  • Next Page »

DIY on a budget! Learning and teaching DIY and giving you the confidence to tackle any project.
~Follow along @moscatoandflowers~

Search The Blog

Categories

  • Baking
  • Celebration
  • Design
  • DIY
  • Travel
  • Uncategorized

Popular Posts

Mood Board: Cozy Living Room

Disclaimer- this post contains affiliate links, which means I receive a small commission for certain items purchased through links. Having a mood board help put all your ideas swirling around in your head to a true vision. It also helps to see what a can become or how every piece will come together. I truly […]

One Day Makeover

Disclaimer- this post contains affiliate links, which means I receive a small commission for certain items purchased through links. When I was asked to do a makeover for a friends primary bedroom I started researching immediately all the things i could do in the room to maximize the space. People think because they have a […]

Pinterest

Follow

@moscatoandflowers

Recent Posts

  • Mood Board: Cozy Living Room
  • One Day Makeover
  • One Room Challenge-Week 1
  • It’s The Most Wonderful Time Of The Year
  • New England Travel

Recent Comments

No comments to show.

Archives

  • August 2022
  • April 2022
  • October 2021
  • September 2021
  • August 2021
  • December 2020
  • September 2020
  • October 2019
  • September 2019
  • August 2019
  • April 2019
  • March 2019
  • February 2019
  • January 2019
  • September 2018
  • August 2018
  • July 2018

Categories

  • Baking
  • Celebration
  • Design
  • DIY
  • Travel
  • Uncategorized

Copyright © 2025 · Moscato and Flowers LLC | Theme by Blog Pixie

Copyright © 2025 · Coffee & Sundays Theme on Genesis Framework · WordPress · Log in